Washi Tape Bible Journal Ideas
There are so many ways you can get creative with Bible Journaling. It all starts with understanding different techniques and tools o take you further in your journey.
Washi tape is a thin removeable tape that can be used in your in your Bible journal and Bible journal notebook in many ways to create designs and themes for all of your pages. It comes in solid colors, metallics, and printed tapes. I promise you that once you start using it, you will become addicted to using it.
Washi tape is a low tack tape hat is very forgiving, If you make a mistake using it, you can slowly remove it to make a correction.
Washi tape comes in different widths, from very thin to very wide. So having some different widths of washi tape, gives you a lot more options.
Use The Back Pages Ideas
- The very last page of your Bible journal is the perfect place for an envelope to store things that you may want to keep within your Bible. Choose a colorful envelope and just tape it is place with the flap visible. Apply the washi tape in place on three sides. Tuck the envelope flap in place.
- Create a washi tape dispenser. Wrap some washi tape around a strong piece of cardstock so that you have tape available when inspiration hits you. Do as many strips as you would like. Tape the samples in place with a piece of washi so that they are easily removed.
- Place a wad of sticky notes on your two back pages so that they are available when you need them.
Washi Tape Margin Backgrounds
This is a lovely idea to decorate and create a background for the margins of your Bible Journal or notebook. All you need to do is to select several rolls of washi tape Now just cut pieces in different lengths no larger than the margin. Now lay the strips horizontally across the margin. Once you have done that, add words or illustrations on top.
- Use all of one color in both solid and printed tapes.
- Use varying colors in one color family.
- Go from darker colors to lighter colors.
- Do a black and white margin.
- Do all dots in different colors.
- Use metallics.
- Do random colors.
Create Side Tabs
Rather than using Bible tabs, lots of people opt to edge the beginning of each chapter of their Bible with a strip of washi tape along the edge of the page where the chapter begins. it might take a little practice and patience to get it just right, but the results will be amazing.
I have actually edged entire chapters in the same washi tape making an amazing border for my entire Bible. If you decide to do this, make sure that you have enough washi tape for each section. For some of the larger chapters you may need two rolls of the same tape.
You want to create a plastic sheet barrier below the page that you are working on. That way the washi tape will not grab at two pages and potentially cause damage to the page below. This can happen especially with Bibles that are very thin papers. Look at your local dollar store. They often have thin plastic sheets used for cutting on.
If you do not have a plastic sheet a piece of waxed paper or parchment paper will work as well.
- Place half of the washi tape on the front side of the page that you are decorating.
- Flip the page over,
- Move the mat to the other side and place it under the page.
- Carefully fold the washi tape over and seal it.
- The back side of the page will be thinner, so you can add another tape to accent that page.
Use a corner rounder craft punch to get softer edges.
Create Top Tabs
You can use washi tape to create a tab for a favorite passage of scripture. Any small embellishment can be used. Just tape it to the top of the page with a piece of washi tape.
Mask Off A Verse
Is there a particular verse or verses in a chapter that have special significance for you? You can cover that verse with washi tape and then color all around it with watercolors or colored pencils. Place the washi over the area you want to mask off. Add the color to your page. Then lift the washi tape and that verse will stand out as white among the colors.
Create Washi Tape Banners
These are so much fun to make and easy even for a beginner.
 |
| https://heycreativesister.com/washi-tape-in-bible-journaling/ |
The easiest way to create a banner is to just make little stickers with different washi tapes. You could use a them like all of one color, all florals or all solids. Or mix them up and have some fun.
- Cut different lengths of washi tape to fir on the top of your page.
- Notch the edges as shown. You could also use pinking shears or decorative scissors to create a custom edge.
- Lay the strips like a banner on the top of the page.
- Press them down with your finger or with a bone folder.
- Turn the page over and press the other side down as well.
Another Banner Idea
- Measure a length of twine or ribbon that you would like your banner to be,
- Select the washi tape that you would like to use.
- Cut pieces of washi tape and fold them ov.er the twine or ribbon.
- Press the pieces together with your fingers.
- Continue to add pieces until you are finished with your banner.
- Snip the edges of your banner pieces to create a design.
- Tape the banner into your Bible journal or notebook with pieces of washi tape on both sides.
Making Clear Plastic Pockets
Plastic page protectors make perfect clear pockets for your Bible journal or Bible journal notebook. Take a page protector and cut it into the size of your Bible page. You want to cut it on the bottom fold so that you keep that edge in place. Now tape it to the page with three pieces of washi tape.
It is a great way to keep sermon notes on the page topic. You can also use it to keep Bible journaling cards in,
Create A Border
.jpg)
It is easy to create a border along the top of a page using decorative washi tape, Just line it up and place the tape on the page.
The same can be done to the side of a page. You can use the washi along the side of a favorite passage. If you actually journal on the page, create a thin line of washi tape along the top and bottom of your notes.
Washi Tape Paper Clips
These are so easy to make. Once you learn the process, you will find yourself making these for other papercraft projects too. All you need is some paperclips, washi tape and a pair of sharp scissors.
- Choose the washi tape that you want to use.
- Roll out the tape on your work surface with the decorative side down.
- You need at least 10-12inches of tape. You can make it as long as you would like it to be.
- Fold the tape onto itself so you have the decorative side on both sides. You should have 5-6 inches of tape.
- Press on the tape so that it lays flat.
- Cut the tape.
- Fold the tape in half and pull it through the top of the clip where the single piece of metal is.
- Gently pull the ends of the tape through the loop that you created. Go slow as the paper can rip.
- You have now created a washi tape paper clip.
More Washi Tape Paper Clip Ideas
Create Tip In And Tape Ins
A tip in is simply a piece of paper or cardstock that is inserted (and sometime folded) into your bible that ‘flips out’. It is used in Bible journaling to add notes and thoughts to your page when you run out of room.
They can be as small as two inches and go up from there to the size of your Bible page. You don't want to go bigger than your actual page or it might start getting messy.
You can use just about any type of paper that you may have. Cardstock, printed paper, scrapbook paper-the options are unlimited.
Your tips ins can be any shape that you want. The fun part of making them is to get creative with your ideas. If you are into paper crafts and have created die cuts, then you have lots of options. Die cutting with nested dies will create instant shapes for all of your tip ins.
You can also use your electronic cutting machine to create tips ins in any shape and size that you desire. Look at the program in your machine to see what shapes are offered. There are plenty of free SVG files that you can import to your program to give you more options,
You can use tip ins for:
- journaling
- notes
- lists
- prayer requests
- answered prayers.
- character notes
- Biblical history notes
- Outlines
How To Create Bible Journal Tip Ins
- Simply cut or tear your tip in from your choice of paper to the size that you want. You can use a paper cutter to size your paper.
- Use a score board tp create a lip about 1/2 inch wide.
- Fasten your tip in to the page center or the outer edge of the tip in with a piece of washi tape.
- Adhere the page with washi and maneuver the washi tape so it hangs halfway over the added paper and extends over the Bible/book crease. The washi tape will extend onto the facing page.
Corner Envelope Bookmarks

Another way to add color to your Bible journal is to add corner bookmarks. You can use these to mark chapters or favorite passages within the chapters. All you need for this project is an envelope and some washi tape. It does not get any easier than that.
- Cut the envelope in half lengthwise
- Measure the width of the envelope you are using and cut it into a square.
- Cut your square in half again, making sure to keep the pocket end of your envelope intact where your page will be inserted.
- Cut off a few pieces of your washi and apply them onto long edge of your envelope as straight as possible.
- Trim off excess washi that are overhanging on your envelope.
- Your corner bookmarks should fit snugly around the edge of your page
.png)
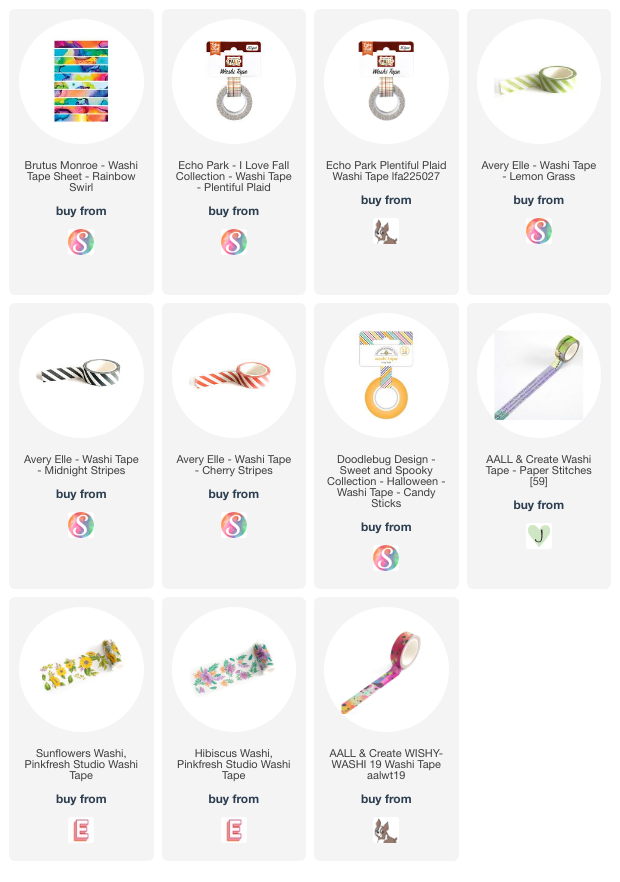
Supplies
We have added some supplies that you may need to create this project. Just click on the washi tape that you may be interested in. We may earn a small commission (at no extra cost to you) All earnings will be directed to our charity, Samaritan's Purse. Thank you for your support!

.jpg)

Comments
Post a Comment