Creating A Composition Gratitude Journal

We have talked about the reasons and benefits of creating a gratitude journal. and we have talked about some simple ways to create a gratitude journal. Today we are going to get a little more creative with more ways to create your own custom gratitude journal.
There is a special satisfaction when you create something that you use every day It is a one of a kind journal that you can cherish for years to come.
So today, we are still working with composition books because they are the easiest type of book to use to create your own journal. This process is so easy to do. All you need is a composition book and I scrapbook paper pad. Out of that one pad you can get quite a few gratitude journals,
You could do a full-sized composition book, but today we are working on half sized composition books. These are available on Amazon and also on at Walmart. I chose these because they are the perfect size to tuck in a purse or take with you when you travel. These notebooks come in packs of 6-8 at about $7.99- $9.00 per pack.
They are also a great gift idea. You can theme them for any season or theme that you want. So chose your paper pad in the theme you want to work with. These pads have everything you need to create something special in very little time, so let's get started.
Gratitude Journal From Composition Notebooks
 |
| Washi tape is decorative tape to add to your cover |
You can purchase a journal for your gratitude journal, but making your own journal makes it far more personal. I like to purchase scrapbook paper pads, especially on sale. They have coordinating paper and come with premade embellishments. In your local craft stores like Joann's and Michaels you can find individual paper pieces. They are very reasonably priced. Gratitude journals make a great gift!
Supplies
- Composition book
- Scrapbook paper
- Scissors
- Mod Podge or another decoupage medium
- Foam brush or paint brush
- 12 inches of ribbon
- Notebook Template or letters
- Start with the covers of your notebook. You can use either a patterned scrapbook paper or a solid color. It is totally up to you. Measure and cut pieces of paper for both the front and back of your journal. You want to leave the black strip binding uncovered.
- Measure and cut the paper for the inside pages of your journal. It can be the same paper or a different paper. It is totally your choice.
- Apply a thin coat of the decoupage medium or Mod Podge to the front of your cover. Make sure to cover the entire cover. Use a thin even coat. I like to use a foam brush as I can get a very even coat of medium. Lay your paper on the medium and press down. You want to make sure that the paper is adhered to the cover. Of you have a rolling pin, go over the cover to make sure that the cover is flat on the journal. You could also use a brayer.
- Let it dry for a minute or two and then repeat the same procedure for the back cover.
- Apply some Mod Podge or decoupage medium to the upper inner right portion of the inside of the front cover. You want to be 2-3 inches from the top. Apply your ribbon and allow it to dry. It should be placed near the spine of the journal. You want to place it so that the ribbon is facing out of the journal. That way you can tuck it into your pages later on.
- Apply additional Mod Podge over the ribbon to seal in onto the page and a little more around the edges. Let that air dry.
- Once the ribbon is sealed cover the inside cover with the mod Podge.Again make sure to apply a good even coat of medium. Apply the paper to the page and smooth it down. Now, let that air dry.
- Apply an even coat of Mod Podge to the back cover of your notebook and smooth that down. Onc more, let that air dry.
- Add some embellishments and a title to your cover.
Half Sized Composition Gratitude Journal
Instead of a full-size gratitude journal, you can create a half size journal. These composition books are half the size of a full journal. They are great to carry in your purse.
Supplies
- Half sized composition books
- A scrapbook paper pad
- Ruler
- Scissors or a paper trimmer
- Double sided tape
- Bone folder
- 25" of ribbon for the closure
- Select the paper that you want to use for your cover
- Cut 2 pieces of paper at 47/8 " by 12"
- Then cut 2 pieces of paper that measure 4 7/8" by 3"
- Lay strips of double-sided tape on both the side and horizontally. the double-sided tape will hold the paper onto the cover. You want to cover the covers, but not the black tape area where the actual binding is.You could also use glue. If you opt for glue, make sure that you make an even coat along the entire cover. I like to use the double-sided tape because it is much cleaner. But glue is a good option too. You could use PVA glue, tacky glue or even Mod Podge.
- Remove the paper backing from the double-sided tape.
- Line up the larger piece of paper that you cut with the edge where the black vinyl is and the bottom of the book. Press the paper onto the book. Use a bone folder or s ruler to press the edge where the black strip is by the binding area. If you have opted to use glue, let the glue dry before moving forward.
- Open the book and gently crease the paper. This will be the inside of your journal. Go easy and work the paper so that the left-over paper will cover the inside of your book.
- Use some glue, double sided tape or a tape runner to adhere the inside paper to your journal. Make sure to line up the paper o make it straight.
- Do the same process with the back cover making sure that the paper is going the right way to the journal. But before you place the paper n the back, you need to add ribbon. The ribbon for the closure will be under the paper of the back cover. Decide where on the book you want your closure ribbon. You could do it a couple of inches in from the edge.
- Remove the tape cover if you are doing double sided tape. Eyeball the center of the ribbon and place it on the cover that has either glue or tape. You will want t to press the ribbon down to make sure that it adheres to the cover.
- Do the same process as you did with the front cover.
- Create the pocket for the inside of your journal. Use the smaller piece of paper that measured 4 7/8" by 3". This is going to go in the white space on the inside of your journal. If you have a round punch, you can use half the punch to create a little notch. Use wet glue for this pocket. Place glue on three sides of the pocket. The opening would be at the top. Place the pocket on the inside of the book. Leave a little edge where the edge of the page is. Let that dry.
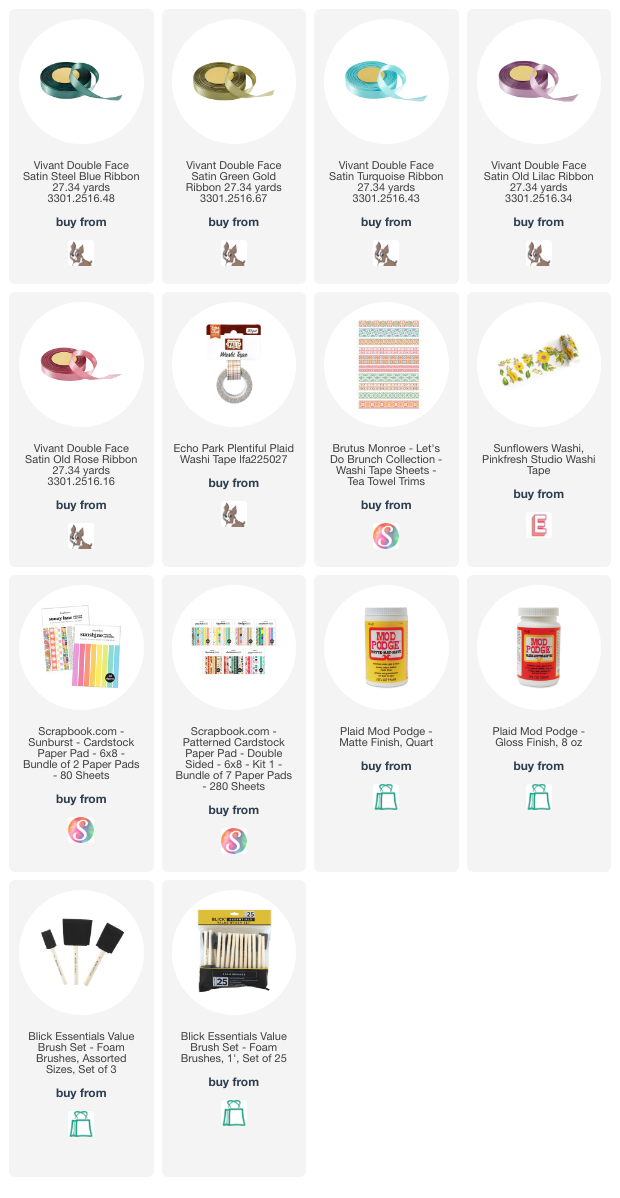
Supplies You May Need
We have included some supplies that you may need to complete this project. Just click on the picture to get more information and make a purchase. We may earn a small commission ( at no extra expense to you) Any commissions earned are donated to Samaritan's Purse.
.png)

.jpg)
Comments
Post a Comment